You must have Web Framework 2.0 and C4 Resource Manager. If you would like to upgrade your C4, please contact us.
What it does:
The Image Rotator located in your C4 Resource Manager, provides a slideshow of images for your page. These images can be linked to a URL, be displayed for a specified time period, and can be any image. If you have an in-house graphics designer feel free to use it as a way to promote a new attraction, or an event, or a special.
Below you will find the following useful tools about your Image Rotator(s):
- What it Looks Like
- C4 Environment
- How to Upload an Image
- How to Remove an Image
- Image Settings
What it Looks Like:
Typically the Image Rotator will be a large image on your Home Page. If you're unsure where your image rotator(s) is(are) located, please contact us and we will let you know. Images set in the correct folder in your C4 Resource Manager Module will cycle through. You may have multiple image rotators or just one. You may have the same image rotator for your website and mobile site, or you may have two different ones. Our websites are custom built, so if your site is different than described here, please inquire further instructions/information. 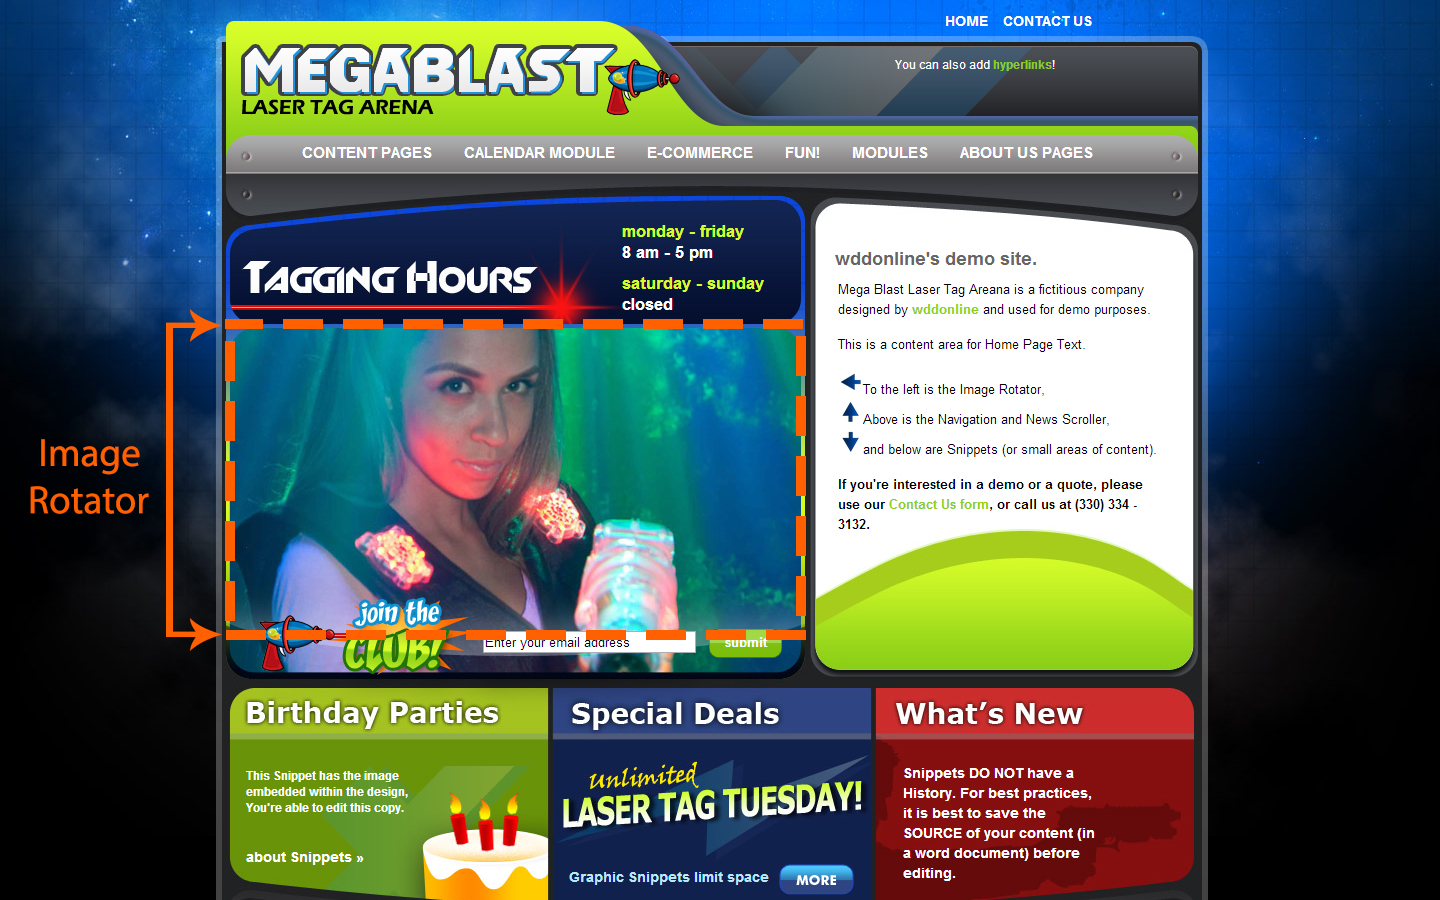
C4 Environment:
The new Image Rotators are built within the C4 Resource Manager Module. The following information is for your reference on how to navigate through your Resource Manager module in your Creative Content Control Center (C4) to update your image rotator(s). Click here for information on C4 and how to access it.
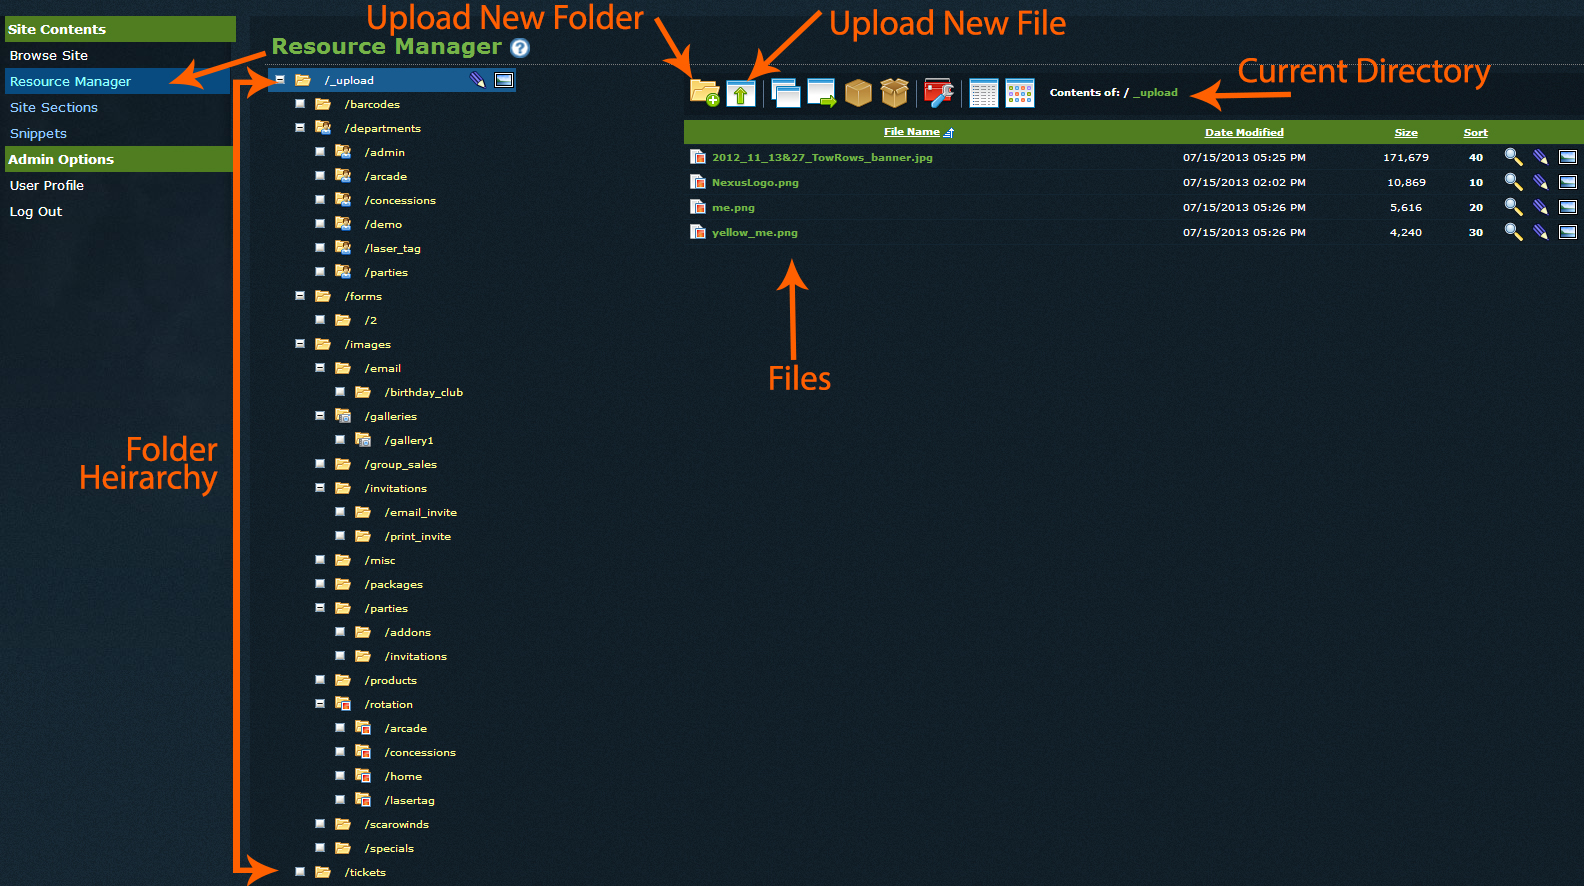
In C4, click on "Resource Manager" on the left-hand side menu. On the main screen you will see a hierarchy of folders, upload and menu icons at the top, and then the files that are located in that directory (folder). For more information about the Resource Manager, click here.
To Upload a new image:
**You will want to make sure you have the correctly sized image to upload to your image rotator. To find the size of your image rotator, follow these steps here.**
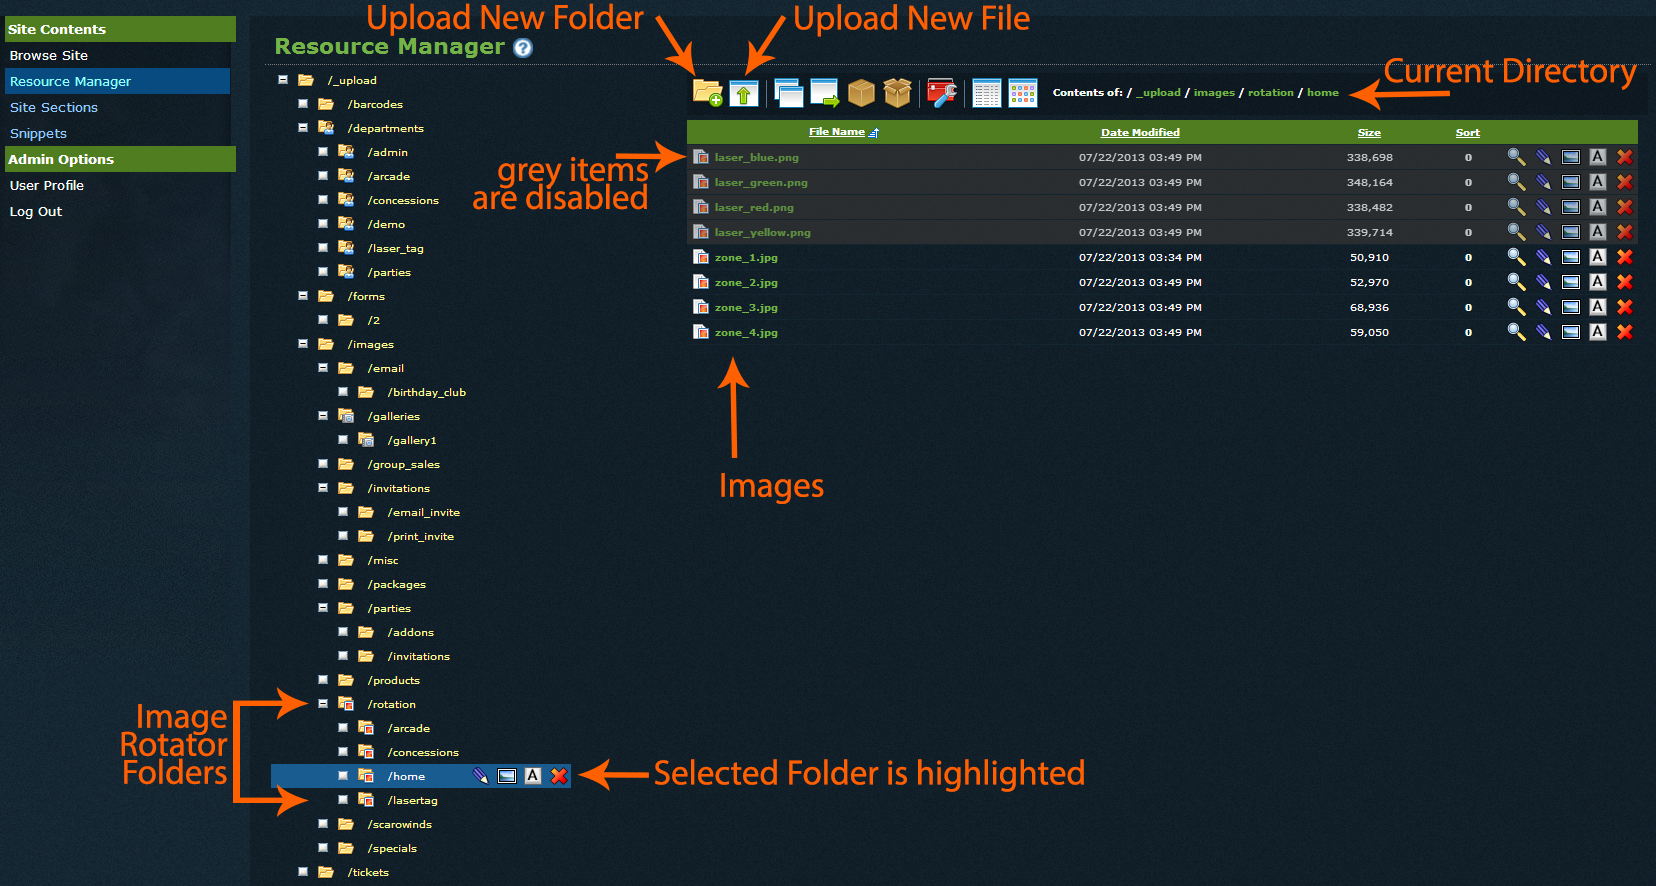
Locate your rotation folder (most likely under/_uploads/images/). If you have more than one image rotator you will have separate folders, like the example below. DO NOT CHANGE THE NAME OR ADD/REMOVE THESE FOLDERS.
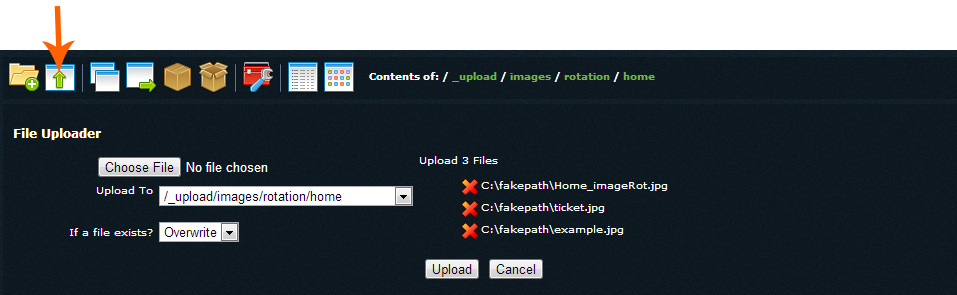
Click the second icon, to upload a new image. Choose the file from your computer by clicking "Choose File". You can upload multiple at a time by clicking "Choose File" multiple times. When you are ready to upload all of them at once, click the "Upload" button. By default your images will be Enabled and Displayed once uploaded.
To Remove an Image from your Image Rotator:
You can either disable the image or delete it from your Resource Manager.
To delete, an image, find the red X icon  next to the image and delete. This will permanently delete the file from your site.
If you'd like to keep the file, but not have it displayed on your image rotator, simply click the pencil icon  and Switch the radio dial to NO for "Enabled"

Image Settings
Find the image, and click on the pencil icon to edit it's settings.
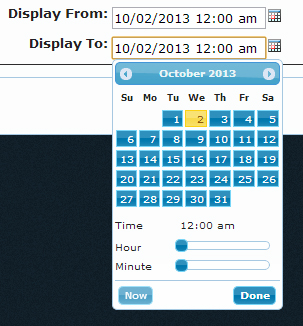
Timed Display
Scroll down to the bottom and set the dates and times you would like the image to be displayed.
Link Image
You can link the image to any web address! In settings, type in the web address under Link Address, located near the bottom.
If the URL is a page on your website, you will only need a relative URL. For example, for Nexus Demo to link to it's own page, www.nexusdemo_v2.bringingfunonline.com/public/birthdays/club/index.cfm, you would type in "/public/birthdays/club/index.cfm"
If the URL is somewhere off of your website, then you'll want to have the FULL URL (http://www.....com) AND you'll want to type in _blank for the "Link Target". This will open a new window for the link.